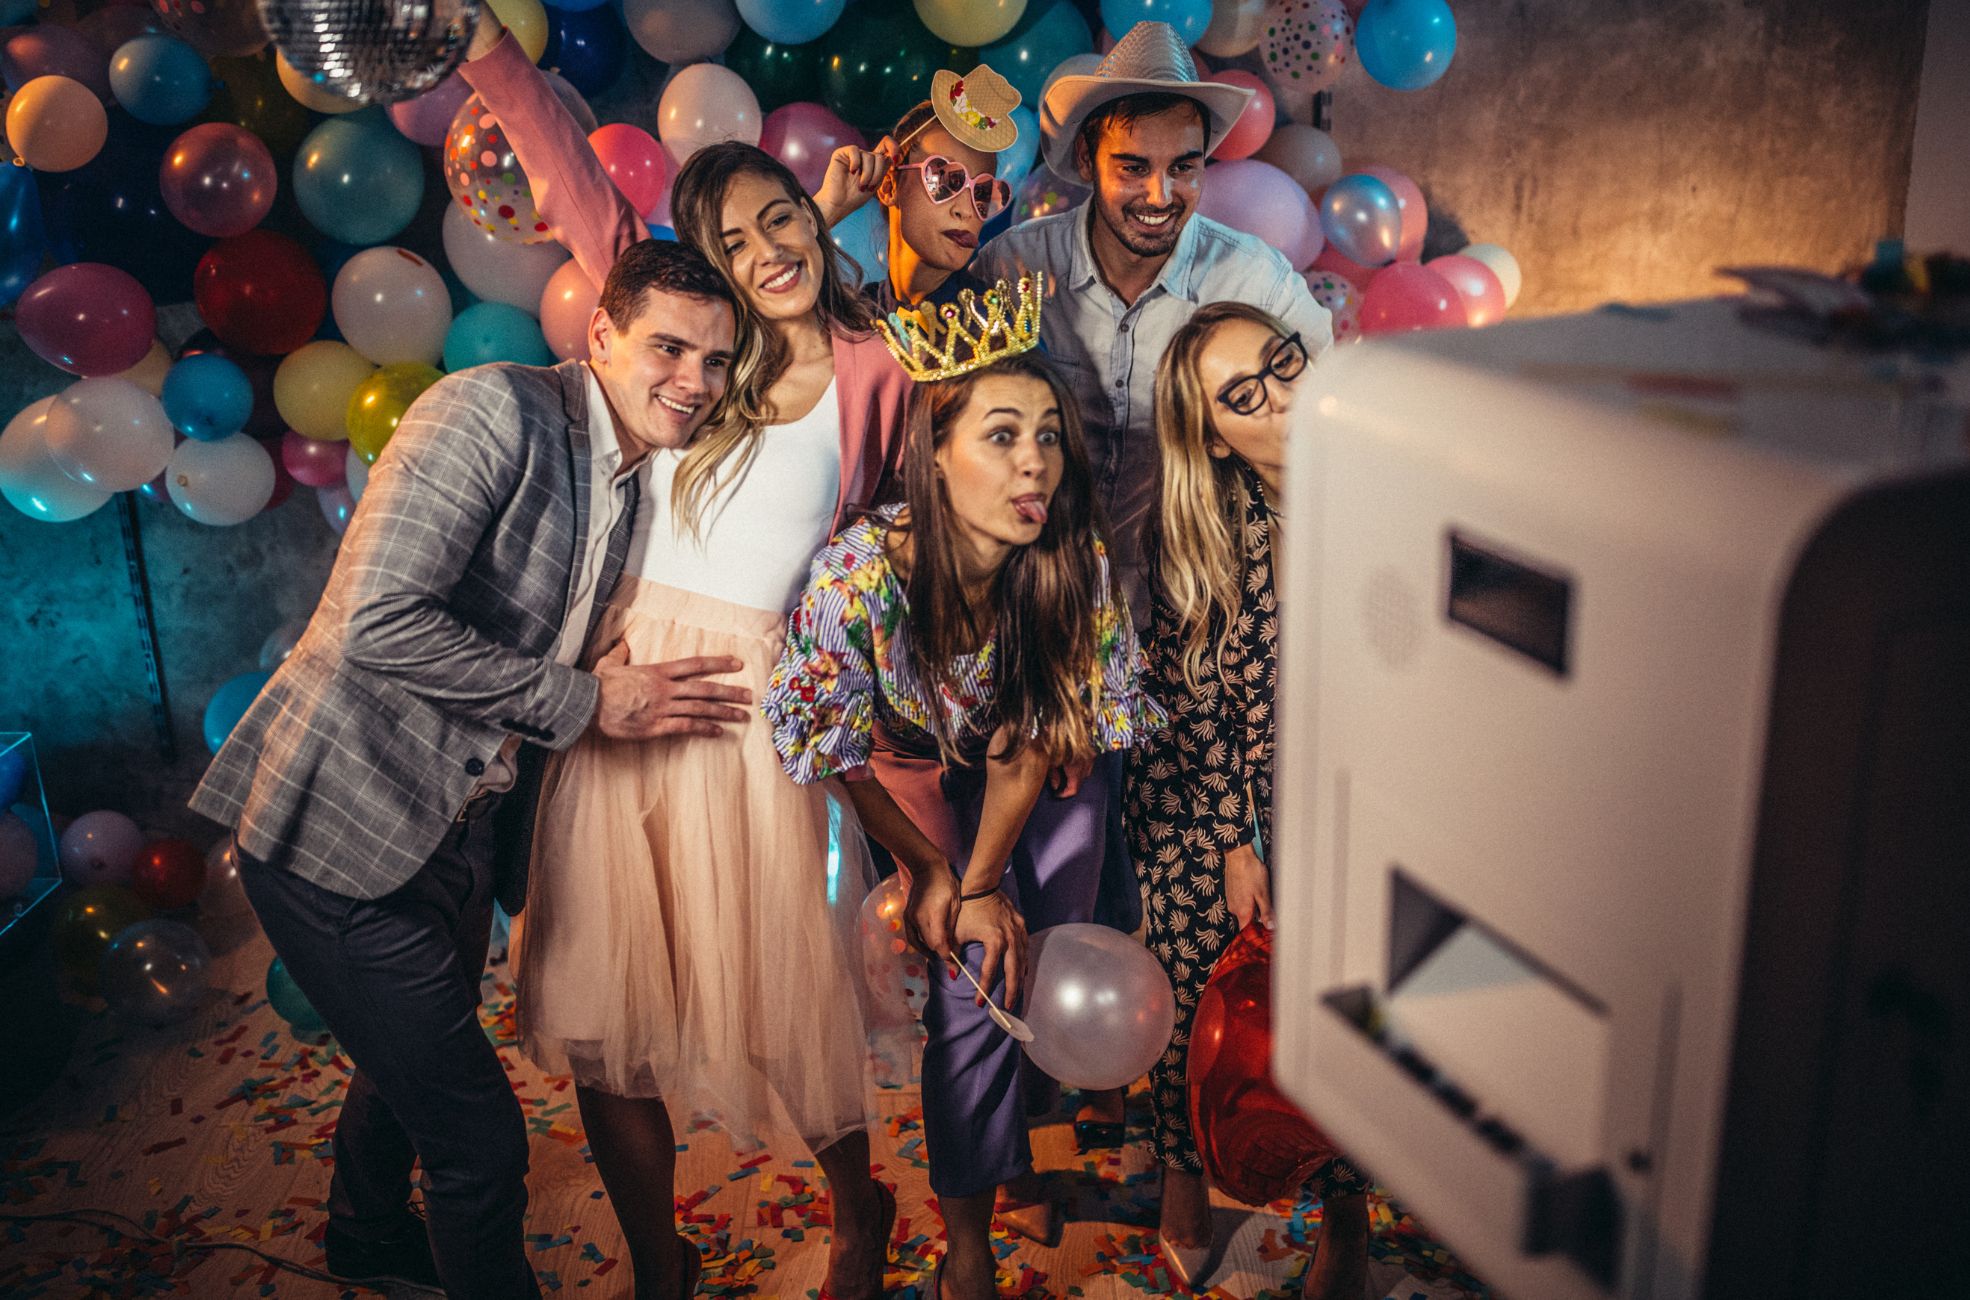
Creating a DIY photo booth is a brilliant way to add a personal and fun touch to your event, encouraging guests to capture and share their festive moments. With the right mix of creativity and technical know-how, you can create a photo booth that complements the event’s theme, delights your attendees, and keeps memories alive.
From choosing the perfect camera to dressing up the space with an eye-catching backdrop and playful props, we’ll guide you through each step to ensure your photo booth is the highlight of the party. Whether you’re organising a whimsical wedding reception, a milestone birthday, or a corporate gathering, a DIY photo booth can provide an interactive experience that guests will treasure.
So, let’s get your toolkit ready, unleash your creativity, and explore how to craft a memorable photo booth for your next event.

Planning Your DIY Photo Booth
Defining the Event Theme
First, when putting together a DIY photo booth, you’ll want to make sure it fits your event’s theme. The theme will guide your choice of backdrop and props.
For example, a chevron-inspired backdrop made from black foam board could add a touch of elegance to a formal black tie event. Alternatively, you could create a lively, floral backdrop by colouring paper doilies and origami and sticking them to a foam board for a more festive atmosphere.
Setting a Budget for the Booth
To keep costs under control, you’ll need to set a budget for your photo booth. This budget should cover everything from the camera and tripod to the backdrop and props. Opting for a basic digital point-and-shoot camera and homemade props can help keep expenses down while still providing a fun experience.
Remember to consider additional costs like lighting equipment or a remote shutter release. These might give your booth a professional edge, but they’ll also affect your budget.
Scheduling Setup and Breakdown Times
It is important to set aside time to set up and take down your photo booth. This includes clearing the space, putting up the backdrop, mounting the camera on a tripod, and organising the props. You should also do a trial run before the event to make sure everything works as it should.
The trial should include checking the remote shutter release, which lets guests take their own photos. After the event, you’ll need time to dismantle everything and sort out the photos to share with your guests.
Space Requirements
Your photo booth should be in a spot that’s easy to get to but doesn’t interrupt the flow of the event. A wall space around 1.5 metres wide and 2 metres tall is usually enough to frame a group of 3 to 5 people. Make sure the space is clear of any wall decorations and furniture.
If there are windows, cover them to manage the lighting. You can do this cheaply with sheets or cardboard. Good lighting is key, so if you can’t stretch to professional lighting equipment, think about using the camera’s flash or placing a floor lamp to light up the backdrop. Use painter’s tape on the floor to show where the tripod and guests should go.
A signboard with instructions on how to use the photo booth and a tidy prop station will improve your guests’ experience. Finally, check that your camera is fully charged and has plenty of memory to capture all the great moments at your event.
Choosing the Right Equipment
Selecting a Camera
The Canon EOS M50 is suitable for its high-resolution 24.1 Megapixel APS-C sensor, which ensures excellent image quality. Its compact mirrorless design is perfect for a photo booth, and it comes with a rotating touchscreen, various connectivity options, and a Dual-Pixel autofocus system with eye detection. However, it’s only compatible with Canon EF-M mount lenses, though an adapter is available for EF or EF-S lenses.
The Nikon Z6 is another excellent choice. It features a 24.5-megapixel sensor and superior low-light performance, with an ISO range extending to 51,200. AI-augmented its autofocus system, which is beneficial in low-light conditions. The Z6 is a mirrorless camera that uses Z-Mount lenses. Still, an adapter is available for F-Mount lenses as well. Nikon Australia also offer rentals, which can benefit your budget significantly.
For a mobile option, the iPhone 13 Pro stands out. It offers three 12 MP cameras and many photo booth apps on the App Store, making it a powerful and flexible choice, particularly for 360 photo booths where a compact and lightweight camera is advantageous.
Lighting Essentials
LED panels or wands can provide continuous lighting, which is more welcoming and avoids the harshness of sudden flashes. Neewer offers a range of LED ring lights that can be customised to your needs.
Consider the maximum brightness, colour temperature, and positioning when evaluating lighting. Lights should be sufficiently bright to adapt to various environments, and larger light sources are preferable for their softer shadows and wider coverage. Warm/cool LED lights emitting white light in the 5600 – 6700 Kelvin range are beneficial for balancing environmental colours.
The light should be positioned at eye level or slightly above, and a circular arrangement around the subject’s face is often effective. A central light or two sidelights at the same angle can be used for the angle. Adjusting the distance of the light can increase or decrease brightness as needed.
Printer Options for Instant Photos
Ensure the printer you select is compatible with your camera and software and the expected volume of prints.
Additional Gadgets: Props and Accessories
A variety of props can enhance the photo booth experience. Additionally, ensure you have a reliable stand for your camera, and if your camera is compatible, consider a flash with a wireless hot shoe adapter. Remember to have a power supply charger and a USB cable to connect your camera, with spare backups as a precaution.
Designing the Photo Booth
Creating a DIY photo booth for your next event can be a delightful and engaging addition, encouraging guests to capture memories and share their experiences. Your photo booth’s design should be functional and aesthetically pleasing, ensuring it aligns with your event’s theme and captures your attendees’ attention.
Building a Backdrop
The first step in designing your photo booth is constructing a sturdy and visually appealing backdrop. An 2.4×2.4 metres dimension is recommended to accommodate large groups, making sure everyone fits into the frame. Start by creating a frame from 2x4s, adding support beams for stability.
Once you’ve assembled the frame, attach plywood to the structure, trimming any excess material. Cover the plywood with your chosen material, such as artificial turf or fabric, securing it tightly to avoid wrinkles or sagging. Make sure the backdrop isn’t too transparent and has a matte finish to prevent glare from the camera flash.
For stability, add weighted supports at the back of the structure, and consider placing it against a wall for additional support. Remember to design the backdrop with transportation in mind, making it easy to take apart and move to your event location.
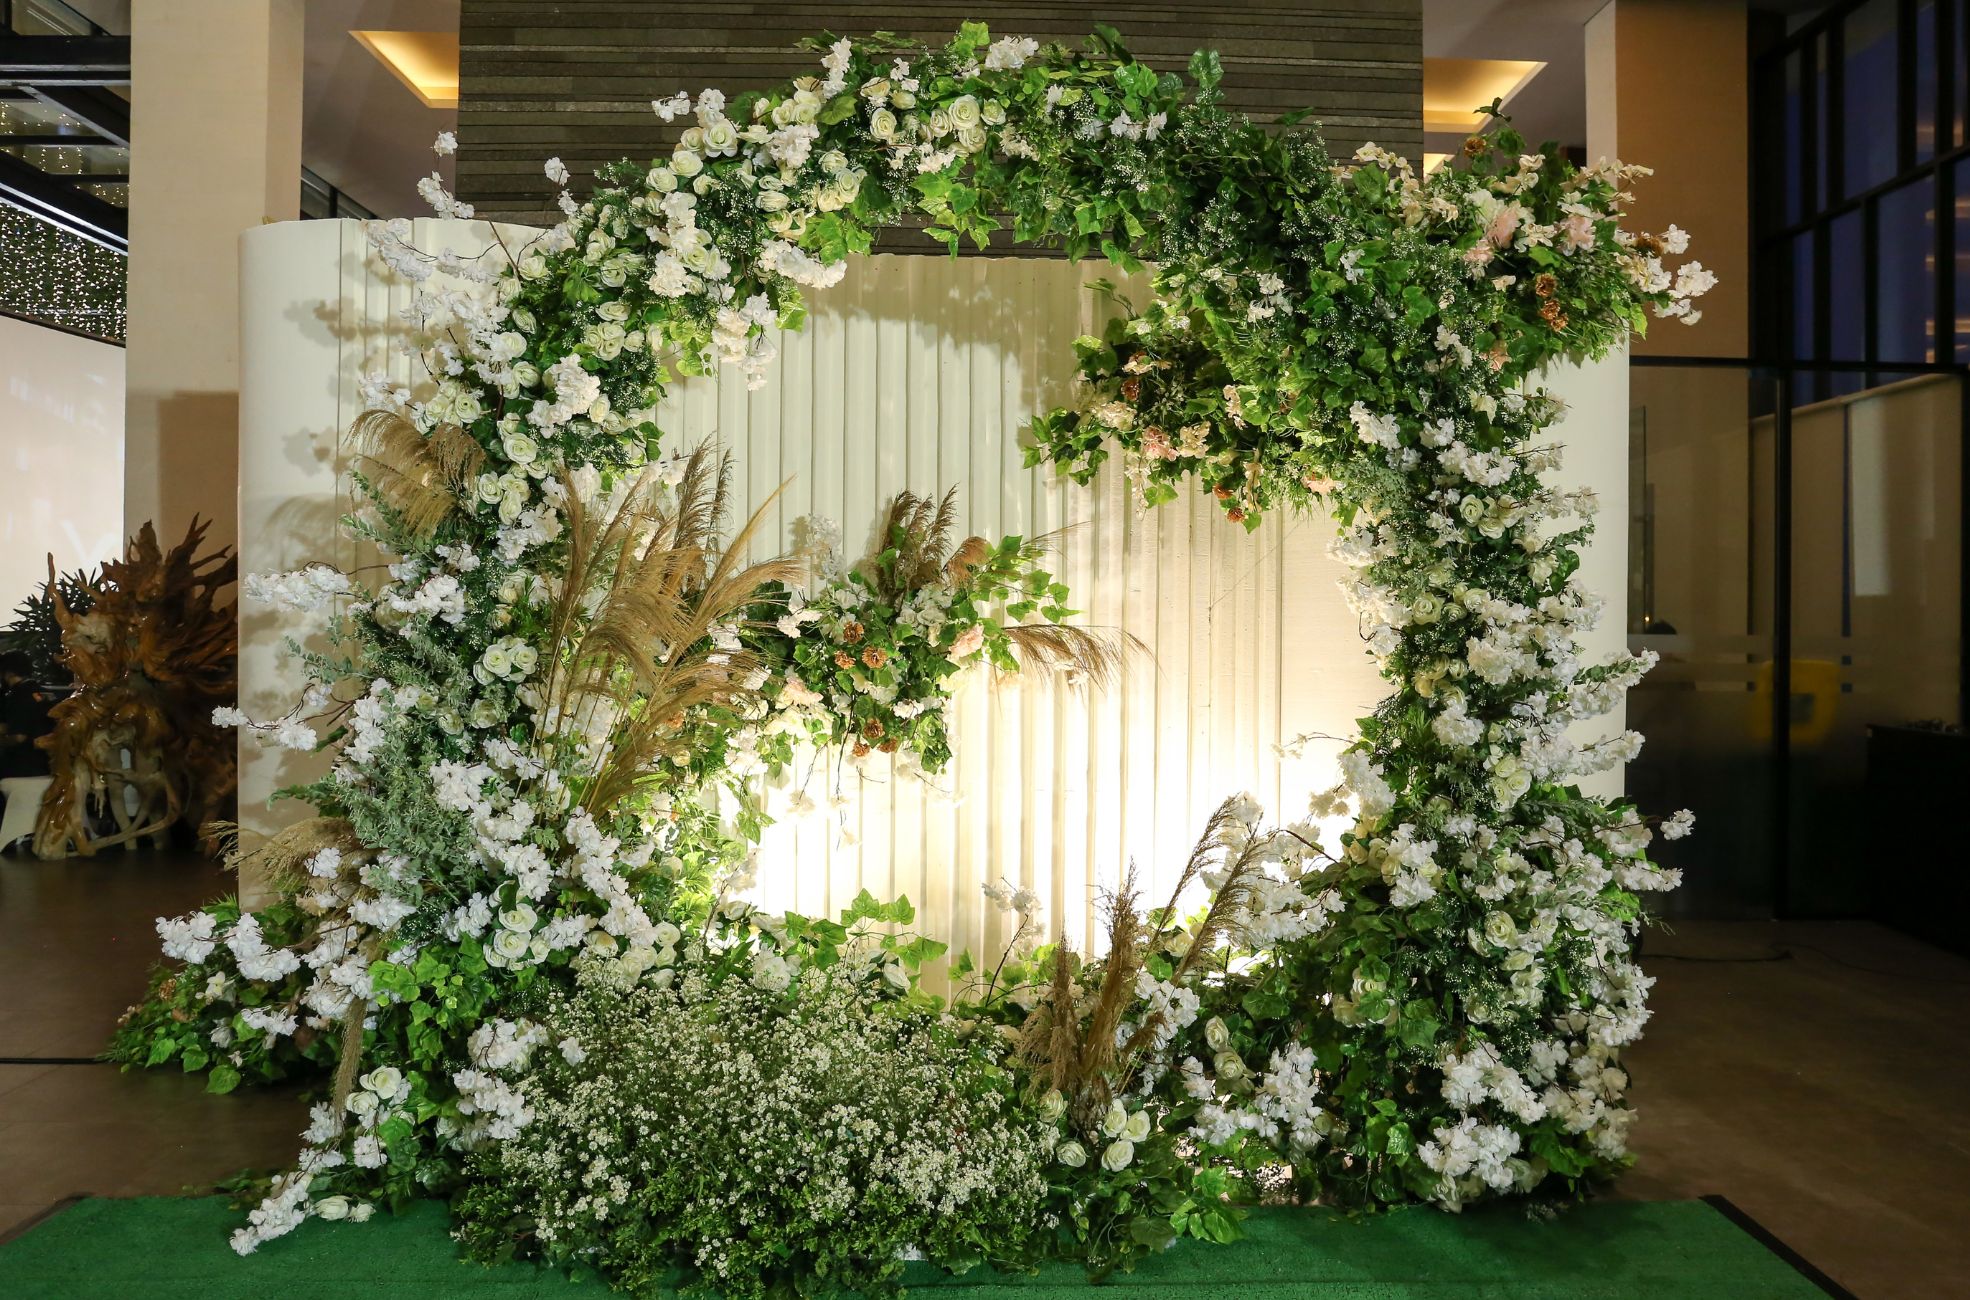
Theme-Appropriate Decorations
Decorations are key for setting the tone and enhancing the theme of your event. You should repurpose items from the event, such as ceremony decorations, to create a cohesive look. Add visual interest to the top and sides of the backdrop, as these areas are most likely to be seen in photos.
Artificial flowers, pinwheels, or themed items can create a sense of depth and texture. If your event has a specific hashtag, weave it into the backdrop design to encourage social media sharing.
DIY or Pre-made Props
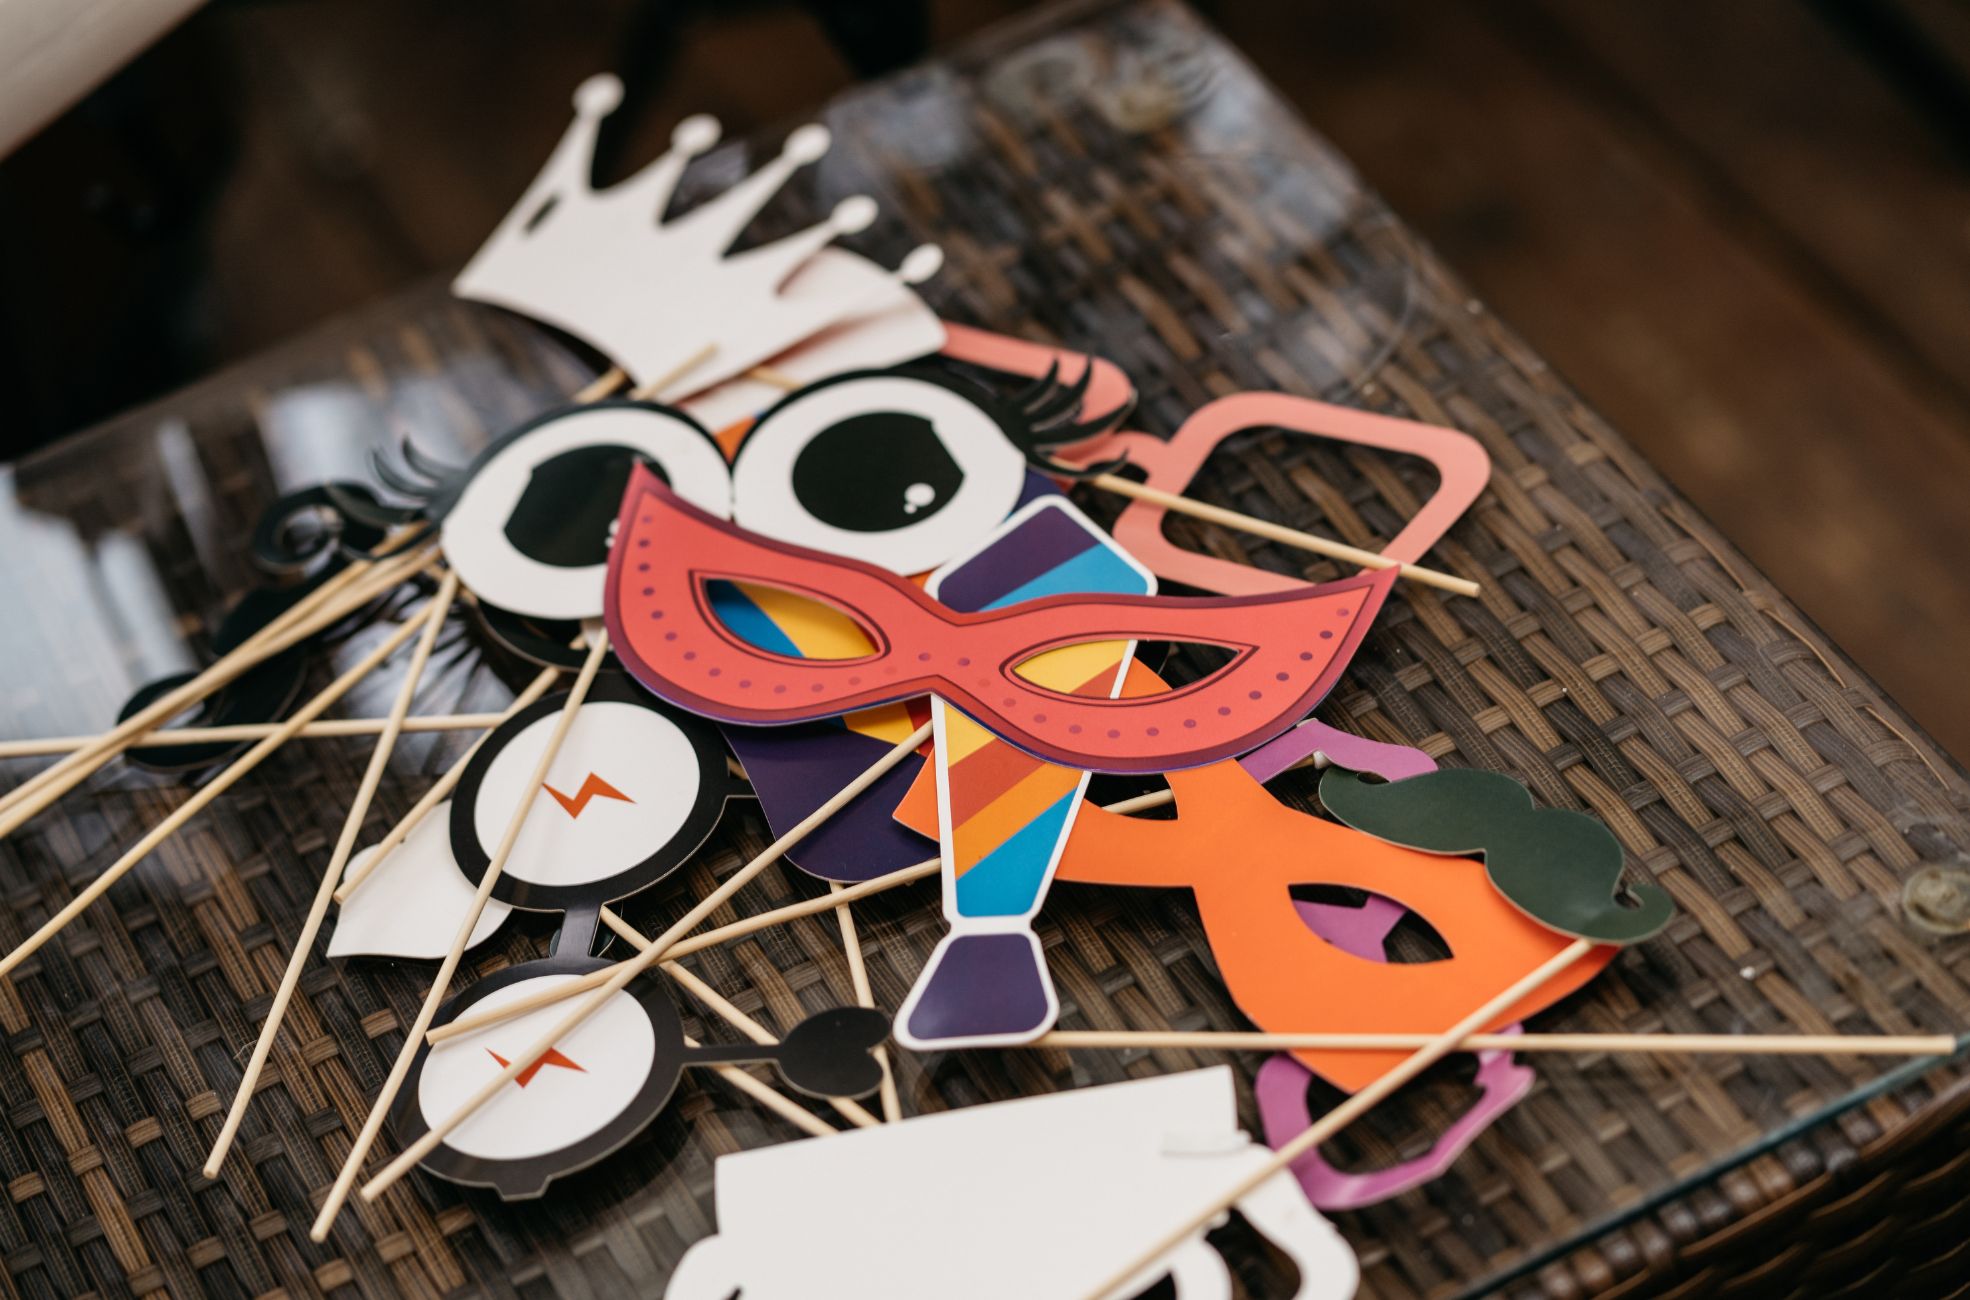
Props add fun to the photo booth experience, allowing guests to express their personalities. You can craft props using foam sheets, craft dowels, and templates found online. Consider a variety of props, such as oversized sunglasses, wigs, hats, and masks, to cater to different tastes.
Chalkboards and dry-erase boards are excellent for guests to write personalised messages, adding an interactive aspect to the photos. Make sure to provide chalk or markers and ensure that props are safe and easy to handle.
Incorporating Interactive Elements
Consider adding interactive elements to elevate the photo booth experience. Interactive photo booths with touchscreens, augmented reality, and digital enhancements can provide guests with a unique and memorable experience. These modern installations capture photos and can create GIFs or boomerangs, often with instant social media sharing options.
When you’re planning the placement of your photo booth, pick a high-traffic area that’s easily accessible and well-lit. Avoid direct sunlight or bright lights that could affect photo quality. If your event is indoors, make sure there’s enough space for guests to use the booth without causing congestion.
Setting Up the Tech
Camera Settings and Setup
Fine-tune your camera’s settings to capture high-quality images. Set the ISO to a range that allows for clear shots under your event’s lighting conditions. An aperture of f/4 is suitable for smaller groups, ensuring a blurred background, while f/8 will keep larger groups in focus. A shutter speed of 1/160 to 1/200 is ideal for freezing motion and working in sync with your flash.
Lighting Configuration
Proper lighting is essential for achieving the best results. An external flash, preferably with a softbox, will provide a more flattering illumination than an on-camera flash. Position the flash above eye level, angling it at 45 degrees towards the subjects. Ensure the booth is at an appropriate distance from the backdrop to avoid shadows and maintain even lighting.
A modelling lamp can assist with focusing and provide a constant light source for the live view. Have spare lighting equipment on hand to ensure the event runs smoothly.
Photo Printing Setup
Providing instant prints can enhance the guest experience. Customise the prints with a template editor or pre-made templates. Choose the number of images per print and add custom elements like text or logos. Confirm that your setup supports various paper sizes and is compatible with your printer. Adjust the layout within your software and fine-tune the camera for optimal print quality.
Digital Sharing Options
Offer guests multiple ways to share their photos, such as email, SMS, AirDrop, or QR codes for events with limited connectivity. Green screen technology allows for customisable backgrounds. Integrate custom apps with your photo booth software for a more sophisticated experience. Enable guests to operate the booth from their smartphones, reducing physical contact with the equipment.
Expand the booth’s capabilities with video, GIF, boomerang, and 360 booth features. High frame rates are recommended for capturing fluid 360-degree videos. Personalise the experience with animated overlays and soundtracks to match the event’s theme. With the appropriate software, you can remotely oversee the photo booth operations, ensuring a seamless experience for your guests.

Running the Photo Booth
On-Site Testing
Conduct comprehensive on-site testing ahead of time to ensure your DIY photo booth operates flawlessly during your event. Assemble the booth and simulate the guest experience, from taking photos to printing or sharing them digitally. This step helps identify and resolve any technical issues and familiarises you with the booth’s operation.
Ensure the backdrop is pristine and unblemished to maintain photo quality.
Troubleshooting Common Issues
Even with meticulous preparation, unexpected issues can arise. Prepare a contingency kit with spare equipment such as an extra hotspot, additional cables, and alternative power sources. A detailed packing checklist will help ensure you have all necessary items, including backups of essential components.
This preparation reduces the likelihood of stressful on-site troubleshooting and potential delays for your guests.
Staffing Your Photo Booth
Having a knowledgeable attendant at the photo booth can significantly improve the guest experience. This individual should be well-versed in the booth’s functions and ready to assist guests. While staffing costs money, the value of excellent service cannot be overstated.
The attendant can facilitate guest interactions, offer pose suggestions, and maintain an energetic atmosphere.
Creating a Memorable Experience
The goal is to leave guests with fond memories. Ensure the lighting is flattering and the instructions are clear. Props and accessories can inspire guests to strike creative poses. At the same time, customised templates and branding on the prints add a personal touch.
Explore various photo booth configurations to discover what resonates with your audience. A user-friendly setup and a personable attendant can make a significant impact. Photo booth software can simplify operations, track guest preferences, and support marketing initiatives.
Encourage clients to provide feedback after the event. Their insights are invaluable for refining your service. With a robust online presence and active engagement, your photo booth can become an unforgettable feature of any event.
Ready, Set, Pose!
Creating a DIY photo booth is a brilliant way to bring a personal touch to any event, sparking joy and capturing memories that last a lifetime. With the right planning, equipment, and a dash of creativity, you’ll have a photo booth that complements your event and becomes a highlight for your guests.
Whether it’s helping friends snap their new favourite photo or giving colleagues a giggle with whimsical props, your DIY photo booth is sure to provide entertainment and leave everyone with a keepsake to treasure. So, gather your gear, get crafty with your backdrop, and watch as your guests line up to strike a pose. Happy snapping! 📸✨